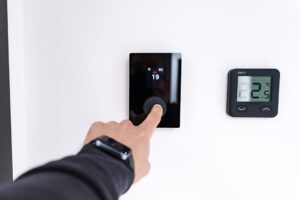
Installing a smart thermostat yourself can save money and give you more control over your home comfort. The process involves removing your old thermostat, connecting the new one, and setting it up through an app. While it requires some basic DIY skills, most homeowners can handle this project without professional help.
Check Compatibility
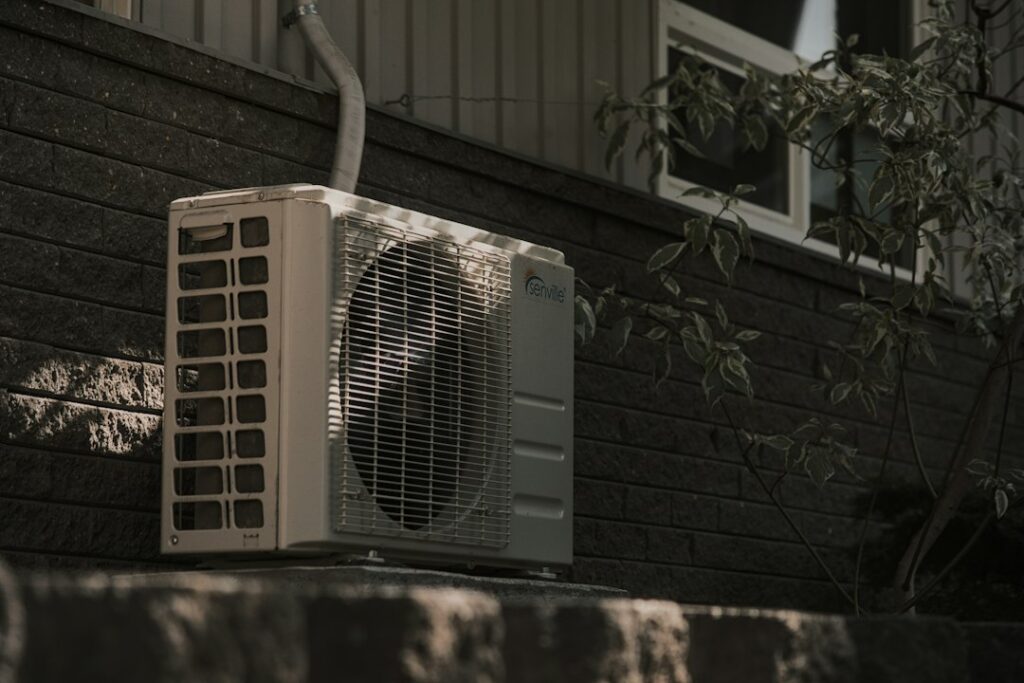
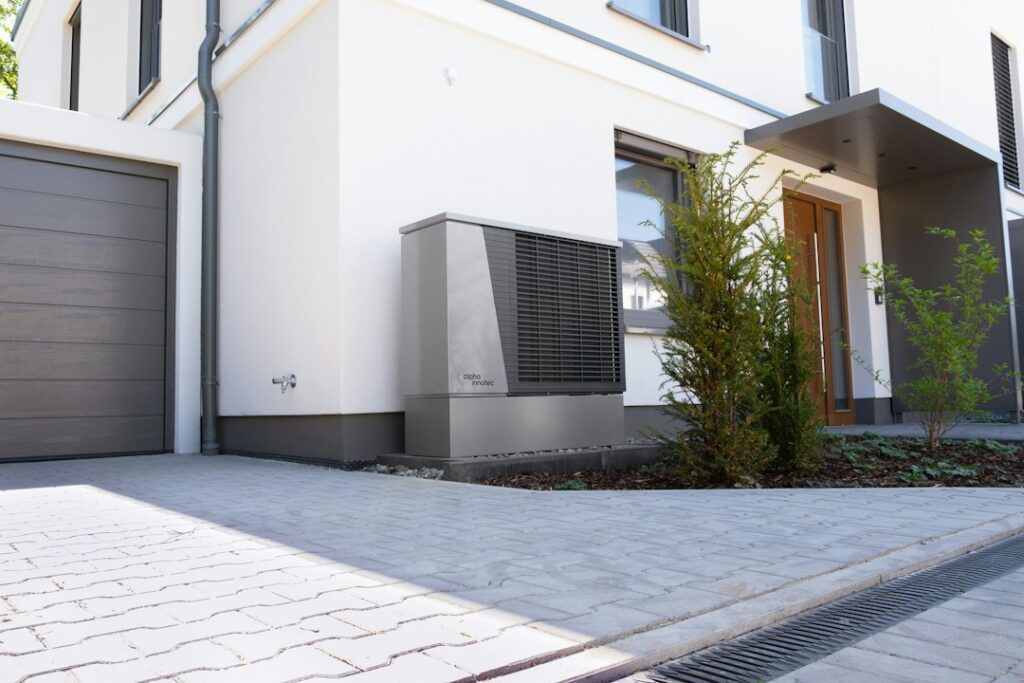
Before buying a smart thermostat, ensure it’s compatible with your HVAC system. Most models work with standard systems, but if you have a heat pump, electric baseboard, or another type, check the manufacturer’s website.
Look for thermostats that support your system type and voltage. Some smart thermostats require a C-wire for power, so confirm your current setup has one or purchase a power adapter if needed.
Gather Tools and Materials
Before starting, gather the necessary tools and materials. You’ll need:
- Screwdriver (typically Phillips and flathead)
- Drill with a bit set (if new holes are required)
- Wire labels or masking tape
- Smartphone or tablet for app setup
These tools help ensure a smooth installation process.
Remove the Old Thermostat
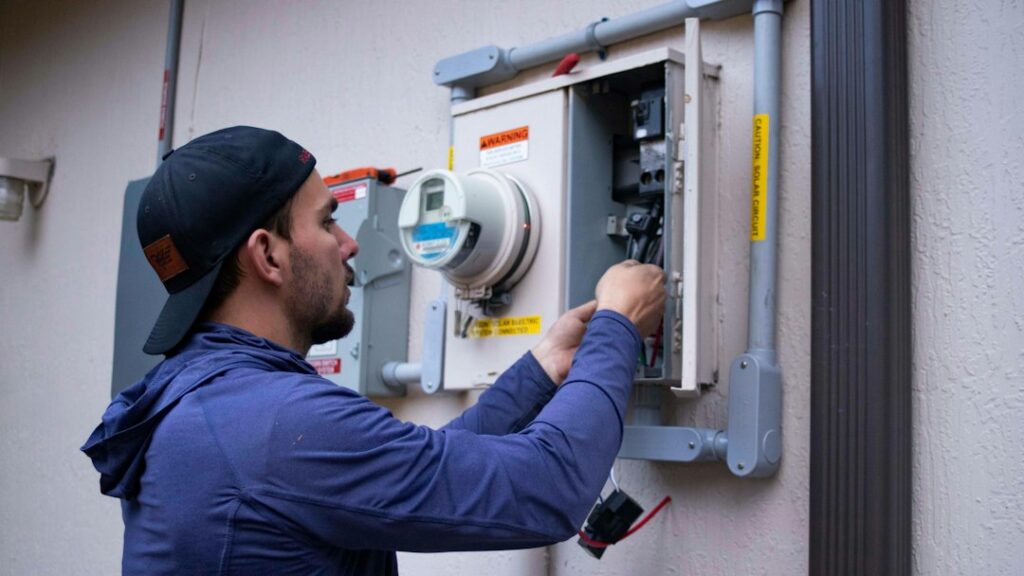
First, turn off the power to your HVAC system at the breaker. This prevents electrical shock while working with wires.
Take a picture of the existing wiring before disconnecting it — this will be your guide when connecting the new thermostat.
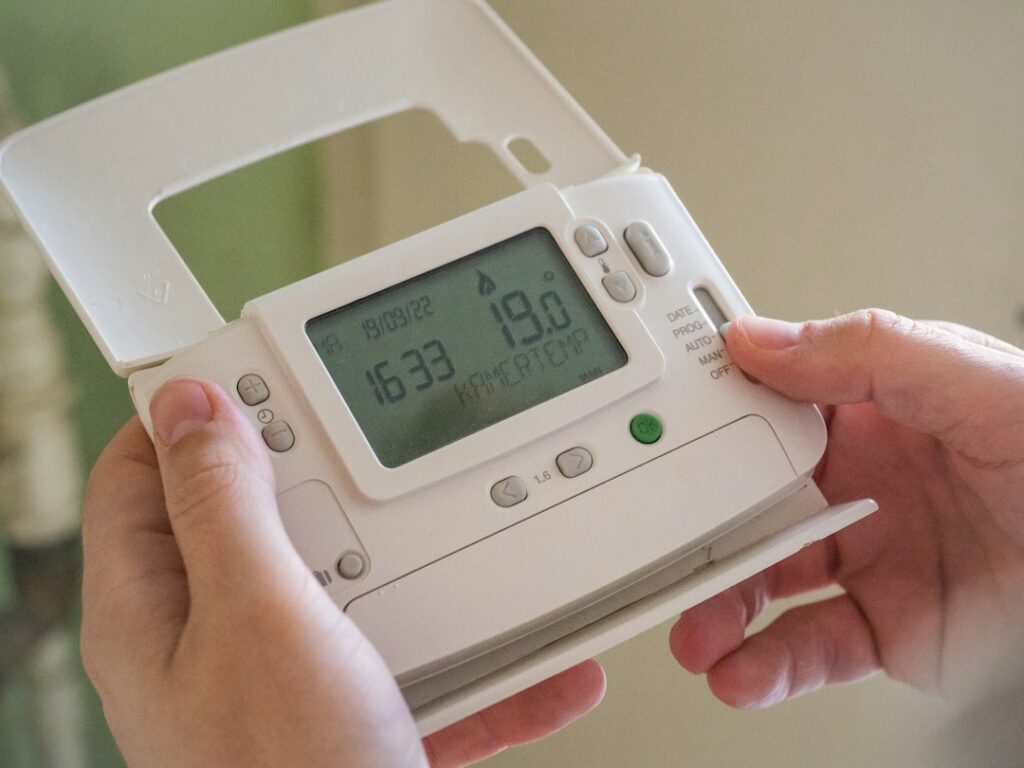
Remove the old thermostat’s faceplate and unscrew the mounting bracket from the wall. Carefully disconnect the wires, using labels or tape to mark them based on their terminal letters. Set aside the old device in case it’s needed later.
Install the New Thermostat
Mount the new thermostat’s base on the wall, using the included screws and anchors. If the new base doesn’t align with the old holes, you may need to drill new ones. Ensure it’s level for proper operation.
Connect the wires to the corresponding terminals on the new thermostat. Refer to the photo you took earlier to ensure accuracy. Once connected, attach the faceplate to the base.
Configure the Thermostat
Restore power to your HVAC system at the breaker. Turn on the thermostat and follow the manufacturer’s setup instructions. This typically involves connecting to Wi-Fi and downloading an app on your smartphone or tablet.
Use the app to complete the setup, which may include naming your thermostat and setting schedules or preferences. This step can vary slightly depending on the brand.
Troubleshooting
If your thermostat doesn’t power on, double-check the wiring connections. Ensure all wires are securely connected and the system breaker is on. Consult the troubleshooting section of the user manual if issues persist.
If you encounter issues beyond wiring, you might consider contacting a local professional. For those in the Toronto area, Toronto HVAC contractors are available for assistance.
Final Tips for Success
Take your time and follow the instructions provided with your smart thermostat. Each model may have unique features or requirements, so it’s essential to pay attention to details. With patience, you can enjoy the benefits of a smart thermostat, including energy savings and enhanced home comfort.
Frequently asked questions
Do I need a C-wire for a smart thermostat?
Many smart thermostats require a C-wire for continuous power. If your system lacks a C-wire, you may need an adapter or consult with a professional installer.
Can I install a smart thermostat without an app?
Most smart thermostats require an app for initial setup and to access smart features. However, basic functions like temperature adjustment may still work manually.
What if my smart thermostat doesn’t work after installation?
Double-check wiring connections and ensure the HVAC system is powered. Refer to your thermostat's troubleshooting guide or contact a professional if problems persist.